Software Features
 Book a Demo
Mobile Tasks
Salestracker Mobile features a lot of functionality around tasks. We recommend you read and digest the documentation around tasks on the regular desktop version of Salestracker, as it will assist your understanding of tasks in general.
Viewing and Updating Tasks
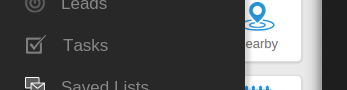
Tasks can be accessed by tapping the “Tasks” item in the menu or by tapping the “Tasks” button on the dashboard.

The tasks panel shows a list of all your tasks. “Filter tasks” allows you to filter down the tasks shown and “Create a task” allows you to create a new task not associated with any record.
![]()
You can click on any of the tasks to open it in full.
![]()
To mark the task as “completed” or “deleted”, tap the corresponding button at the bottom of the task. You will be prompted for confirmation and then the system will update the task accordingly. To postpone the task, tap the “Postpone” button.
![]()
Tap the date icon to change the date, select the time and then tap “Save” to update the task. To cancel any changes, tap the “Cancel” button.
This can also be done while viewing a record too. On the record there is a task icon which looks like a pencil on a checklist. Tap this to open the record’s tasks tab.

From there, it’s simply a case of following the steps outlined above.
Creating a Task
Find the record you wish to add the task to, and then tap the task icon shown above. This will open the tasks tab.
![]()
Tap the “Add New Task” button. This will open a new task; fill in and select all the fields as appropriate.
![]()
Above the new task fields, tap “Save” to record your new task. Alternatively, tap “Cancel” to cancel adding a new task.