Please note this article only applies if you are subscribed to Salestracker’s CRM functionality, as the process described in this article cannot be followed if you are subscribed to the data-only version of Salestracker.
This article describes orders in general. If you want to know how to create a order, read this dedicated article.
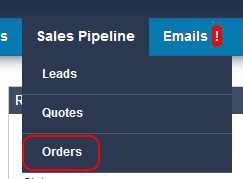
You can find an overview of quotes in the “Orders Summary”. Access this by hovering over the “Sales Pipeline” item on the main navigation and click on the “Orders” link in the dropdown that appears.
Like the Tasks Manager and the Relationships Summary, this page is broken into two parts:
- The top of the page features filters you can apply to filter down your orders.
- The lower half of the page features the order details themselves.

Filtering
You can apply any of the filters at the top of the page and click “Filter” to reduce down your results. To show all results and remove any filters, click the “Reset” button.
The filters you can apply are as follows:
- Transaction – filter by the recurrence of the order, daily, monthly, rolling etc.
- Item – filter by orders that have a specific item associated with them
- Status – filter by whether the order is marked as open, won or lost
- Order by – you can order your orders in several ways:
- Order Date – in order of the date of creation.
- Expected Start Date – in order of the set expected start date.
- End Date – in order of the set end date.
- Completed / Cancelled – in order of the date a order has been closed.
- Deadline – in order of the set deadline
- Order number – in order of order number.
- Company name – order the list A-Z.
- Value Ascending/Descending – order by the price amounts, either smallest to largest amount or vice-versa.
- Database – if you are subscribed to more than one of the Insight databases, this will allow you to only show records for a particular database e.g. Fenestration UK
- Search – a generic search term can be entered here and the results will be filtered to show only quotes that in some way incorporate your search term
- Filter on – this option changes which date associated with a quote to filter by the provided date range on, this could be follow-up date, quote creation date or quote closed date for example.
- After – only quotes with a “Filter on” date field after this date are shown
- Before – only quotes with a “Filter on” date field before this date are shown
Managing Your Quotes
There are three things you can do with a quote, each represented by a button:

- Edit – change the quote details.
- Delete – delete the quote.
- Won – indicated by the green thumbs up, mark the quote as being “won”.
- Lost – indicated by the red thumbs down, mark the quote as being “lost”.
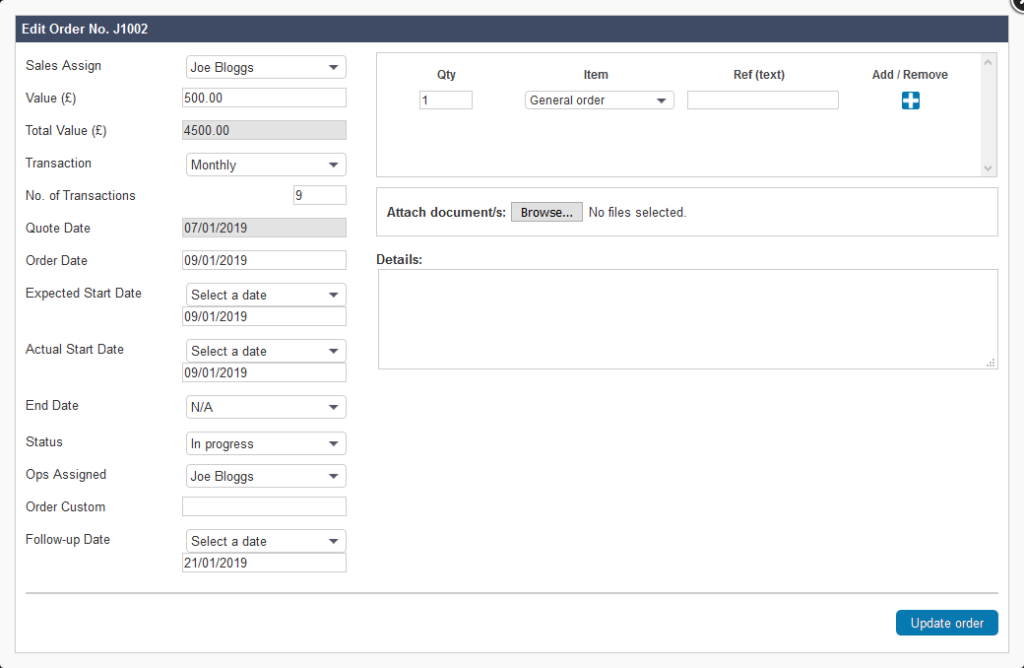
Edit: Clicking the edit button will bring up a pop-up window with the quote details in. You can edit the fields as required, and click “Save” to update the changes.
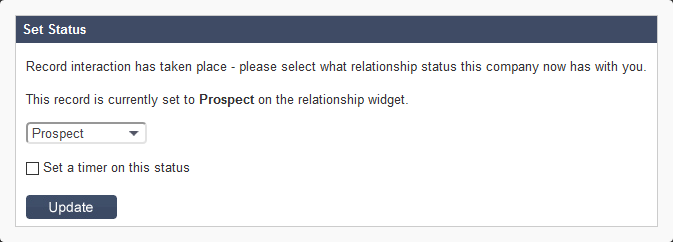
Won/Lost: Clicking on lost will bring up a pop-up window which asks for a reason why the quote has been lost. Clicking on “Update” after picking a reason, or clicking on won causes another pop-up window to open asking you to update the relationship status. Either select a new status or keep the existing one, and then click “Update” to proceed.
Orders Navigation
To view the details for a company, simply click on the highlighted company name to be taken to that record:
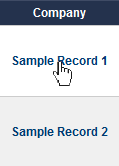
Once you are on a record, the navigation buttons will then take you forward/backwards through the quotes you have filtered.

Click the “back” button to return to the quotes page.

Exporting Orders
You can export quotes data by clicking on the “Export” button.

The export format is in CSV (Comma Separated Values), which is a common format across software. If you require an Excel Workbook, simply open the CSV file in Excel and then go to “File” and click “Save as“. You can change the format to save in to “Excel Workbook”.

Please note that the procedure might be a little bit different depending on your version of MS Excel
Manager View
This section only applies if you have management permissions on Salestracker.
Managers have an expanded selection of filters. By default “standard” users see orders assigned to them only. Managers have access to all orders their users have created regardless of who created them and who they are assigned to.
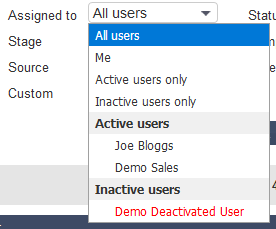
The “Sales Assigned to” and “Ops Assigned to” filters allow managers to select based on all users, active users or inactive users. The inactive user filter is particularly useful for finding orders assigned to people who have left the company. Inactive users are highlighted in red to denote that they are deactivated on the system.
Reassign Button

Managers have access to the “Re-assign” button which, when clicked, opens a window. From this window, you can select a user who already has orders assigned to them, and a different user that you wish to re-assign the orders to, and then click “Re-assign” to action this.
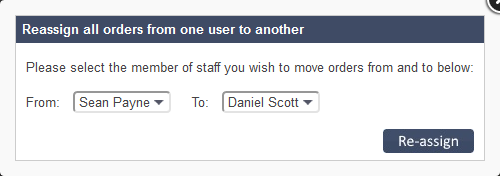
Note, this will re-assign all orders from the initial user to the second user, therefore this should not be used when you wish to change who individual orders are assigned to, that should be done as above with the edit order option.


